<?xml version="1.0" encoding="utf-8"?><feed xmlns="http://www.w3.org/2005/Atom" ><generator uri="https://jekyllrb.com/" version="3.10.0">Jekyll</generator><link href="/feed.xml" rel="self" type="application/atom+xml" /><link href="/" rel="alternate" type="text/html" /><updated>2026-06-11T03:18:55+00:00</updated><id>/feed.xml</id><title type="html">Dubious Dynamics</title><subtitle>Bolts &amp; Nuts &amp; Giggles!</subtitle><entry><title type="html">From Drag-and-Drop to Code: My 3D Printing Journey</title><link href="/3d-printing/cadquery/python/design/2026/06/03/3d-design.html" rel="alternate" type="text/html" title="From Drag-and-Drop to Code: My 3D Printing Journey" /><published>2026-06-03T00:00:00+00:00</published><updated>2026-06-03T00:00:00+00:00</updated><id>/3d-printing/cadquery/python/design/2026/06/03/3d-design</id><content type="html" xml:base="/3d-printing/cadquery/python/design/2026/06/03/3d-design.html"><![CDATA[<p><img src="/assets/qr_code.jpg" alt="3D printed QR code" /></p>

<p>I started learning 3D printing using very simple tool - ToyBox Editor. I could drag and drop shapes into a scene. It was easy to start with, but also annoying. If something didn’t fit right, it was hard to fix. Sometimes I had to delete and rebuild parts again just to make small changes.</p>

<p>After that, I moved to block coding in Tinkercad. This was better because I could connect logic blocks and use variables. Instead of just placing shapes by hand, I could make designs that changed based on rules. It felt more powerful, but it was still limited. I could not do everything I wanted.</p>

<p>Then I made a big jump into real coding with Python using CadQuery. This felt like going from building with toys to writing instructions for a machine. At first it was hard, but I slowly started to understand it.</p>

<p>Now I can actually design 3D objects by writing code. Even better, AI tools like Claude Code can help write Python for me. That means I can describe what I want, and get real code that makes real 3D shapes.</p>

<p>
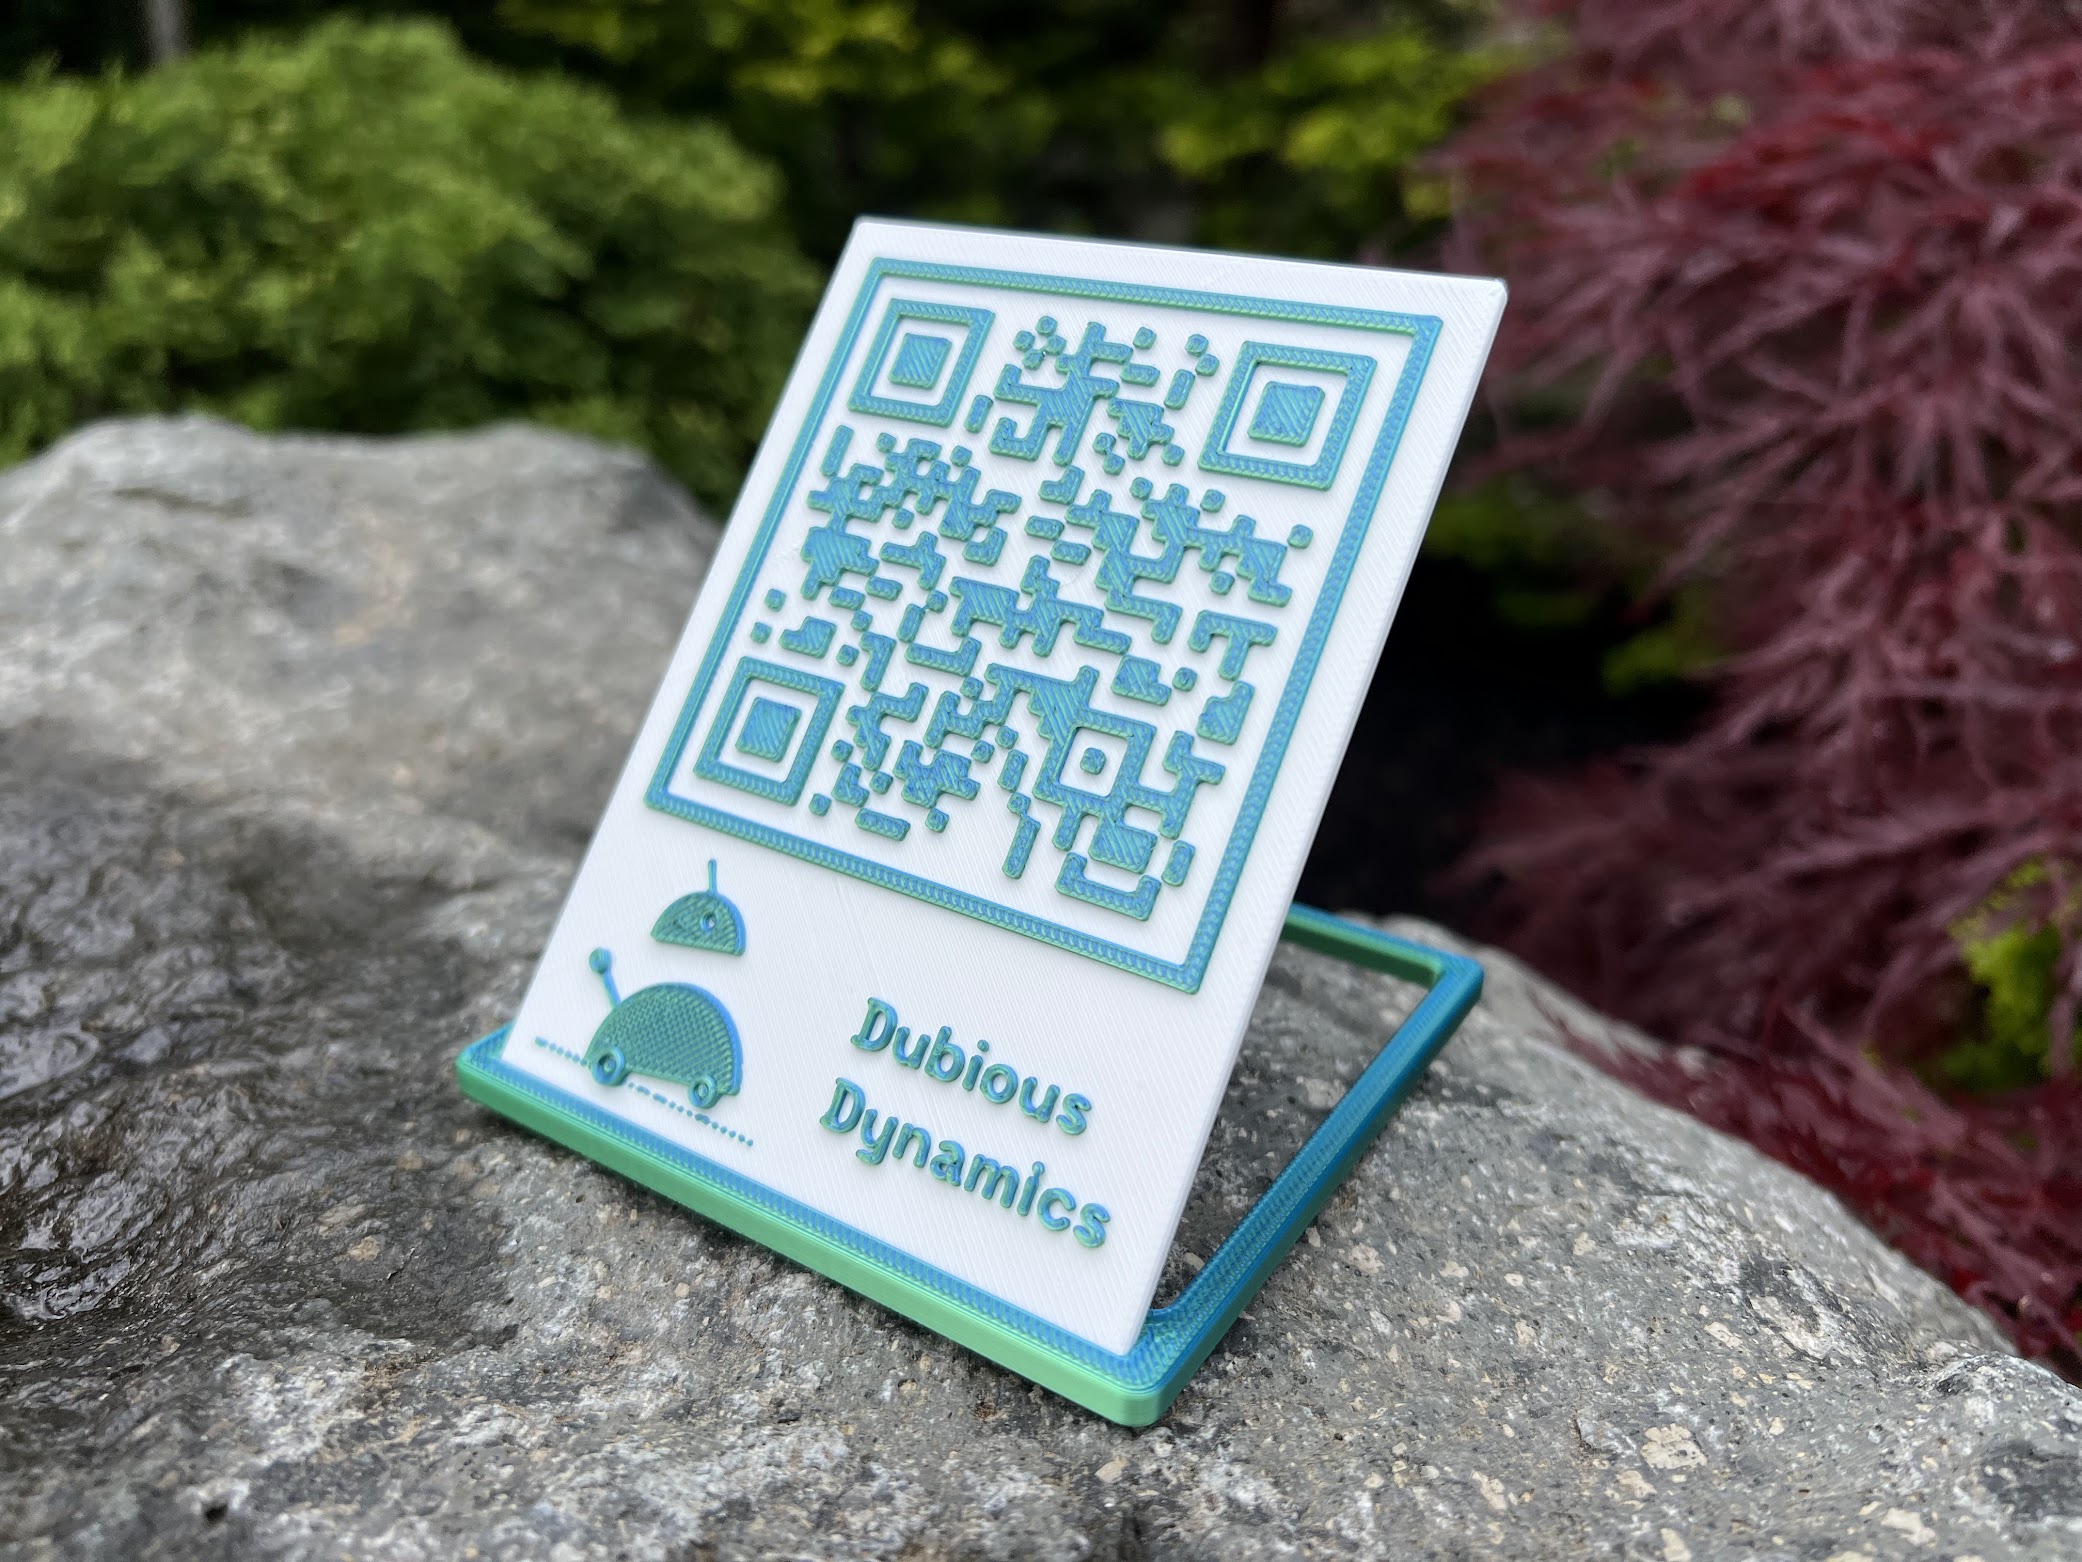
To show what I learned, I even made a QR code using this system. It was a small project, but it showed how far I had come — from dragging shapes around, to actually coding real 3D prints.</p>]]></content><author><name></name></author><category term="3D-printing" /><category term="CadQuery" /><category term="Python" /><category term="design" /><summary type="html"><![CDATA[]]></summary></entry><entry><title type="html">Blinding Laser-Tag Goggles</title><link href="/hackpack/servo/polarization/optics/gears/2026/04/26/lasertag-goggles.html" rel="alternate" type="text/html" title="Blinding Laser-Tag Goggles" /><published>2026-04-26T00:00:00+00:00</published><updated>2026-04-26T00:00:00+00:00</updated><id>/hackpack/servo/polarization/optics/gears/2026/04/26/lasertag-goggles</id><content type="html" xml:base="/hackpack/servo/polarization/optics/gears/2026/04/26/lasertag-goggles.html"><![CDATA[<p><img src="/assets/goggles.gif" alt="Laser tag goggles" /></p>

<p>This is a laser tag kit from <a href="https://www.crunchlabs.com/products/hack-pack-subscription">CrunchLabs Hack Pack</a>.
One of the most interesting aspects is the goggles that can blind you when hit by an opponent.</p>

<p>It works because of polarized films, where one film is permanently attached to the goggles, and the other rotates with the help of a servo motor and simple gear system.</p>

<p>Polarized films only let light through in one direction. When the two films are lined up, light passes through and you can see normally. When one film rotates 90 degrees, the two directions are opposite each other, so no light gets through at all — making the goggles go completely dark.</p>

<p>Not bad for four pieces of film and a tiny motor!</p>]]></content><author><name></name></author><category term="HackPack" /><category term="servo" /><category term="polarization" /><category term="optics" /><category term="gears" /><summary type="html"><![CDATA[]]></summary></entry></feed>